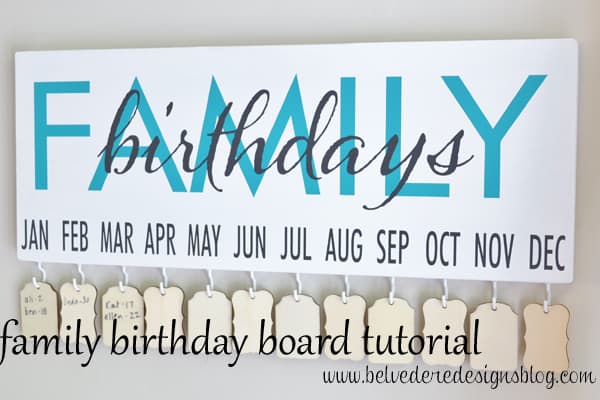
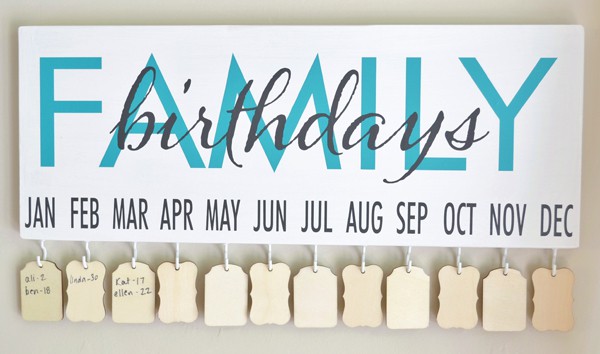
Hello, Belvedere Designs fans! This is Linda, from burlap+blue, and I am so excited to be here with another great tutorial using vinyl from Belvedere Designs. This family birthday board is a creative and super cute way to remember the birthdays of your favorite people. Just purchase a stack of pretty cards and stamps, and your loved ones will feel extra special knowing that you remembered their special day. Here's the how-to:
Materials:
wooden board
cup hooks (12)
wooden (or paper) gift tags (12)
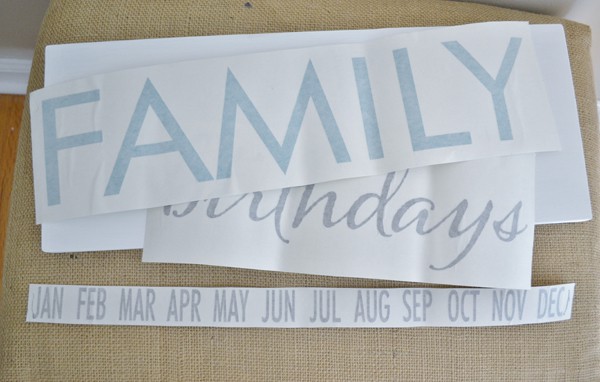
Step 1: Gather your supplies, and get ready to apply your vinyl. First time? Don't be nervous. Belvedere Designs includes a handy instruction enclosure to help you through the process, plus, an application squeegee to ensure your vinyl creations turn out perfectly. Detailed photo tutorials are also available on their site.
To purchase the decal that I used for this piece, click here! You can also go to the Design Center, where you can create your own design and choose your own fonts and colors! Instead of the word "family", you could even substitute your own last name! This is 100% customizable, which I love!
To purchase the decal that I used for this piece, click here! You can also go to the Design Center, where you can create your own design and choose your own fonts and colors! Instead of the word "family", you could even substitute your own last name! This is 100% customizable, which I love!
Step 2: Let's begin! We'll be doing this in several parts. We'll first apply the "family" decal, followed by the "birthdays" decal, then the decal of the months. Lastly we'll insert the cup hooks.
I used a 17.5" x 7" board that my husband cut, but you can easily find wooden boards at Michaels or Hobby Lobby. The vinyl decal that I used measured approximately 16" x 6" (this is the finished size after it was applied to the wood).
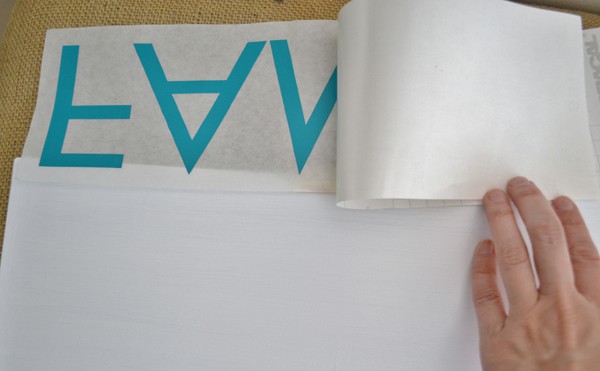
First up, place the "family" decal where you want it, and use a piece of tape to hold it in place. Using the tape as a hinge, flip up decal and peel off backing. Lay decal back down, and starting from the center, squeegee the vinyl decal firmly.
Step 3: Carefully peel back the transfer tape. To do this, start at a corner and peel the transfer tape off at a 180 degree angle-back and down rather than up and away. If necessary, use your fingers to press down on the letters as you peel back the tape.
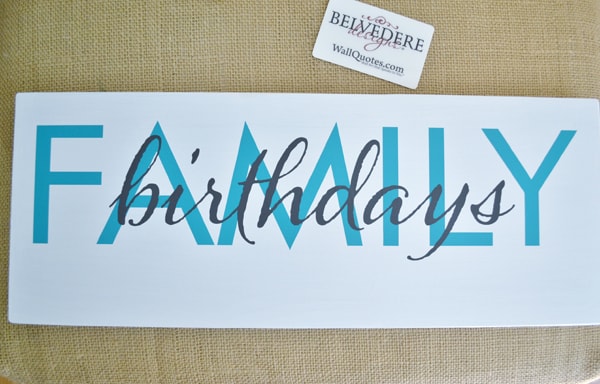
Step 4: Following the same steps, apply the word "birthdays" centered over the word "family."
Step 5: Following the same steps as you did for the words "family" and "birthdays", apply the decal of the months at the bottom of your board.
Step 6: The vinyl is applied, and now it's time to insert your cup hooks. We used a drill (with a 3/16th bit) to drill holes before screwing in the cup hooks, but, if you don't have a drill, I think you could easily use some command hooks instead. Just be sure to leave some space underneath your months to apply the command hooks.
Add some gift tags with the names/birthdates written on them (I found mine at Michaels), and hang on your hooks.
And you're done! I am so in love with the finished product...so cute!
Head over to Belvedere Designs now to check out these new and fabulous vinyl decals!






what font is that cursive?
ReplyDeletewhat font is that cursive?
ReplyDeleteHi Ron - this cursive font is called Alana Pro. Lovely, isn't it?
ReplyDelete