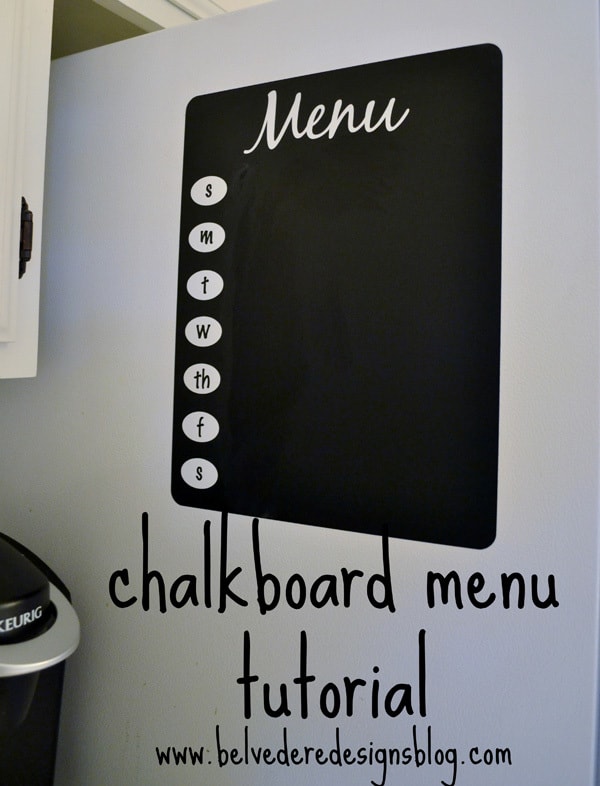
Hello there, Belvedere Designs fans! This is Linda, from burlap+blue, and I am so excited to be here with another great tutorial using decals from Belvedere Designs. It's the start of another school year, and if you are looking for a way to stay more organized this year, this post is for you. We're sharing an easy and attractive way to plan your meals for the week (who doesn't need help with that?!) using this fabulous new chalkboard menu decal from Belvedere Designs!
Materials:
chalk
Step 1: Gather your supplies, and get ready to apply your vinyl. First time? Don't be nervous. Belvedere Designs includes a handy instruction enclosure to help you through the process, plus, an application squeegee to ensure your vinyl creations turn out perfectly. Detailed photo tutorials are also available on their site.
To purchase the decal that I used for this piece, click here! There's also a second chalkboard menu option, called the Elegant Chalkboard Menu that you may like!
Step 2: Let's begin! We'll be doing this in several parts. We'll first apply the word "menu" to the decal, followed by the days of the week. We'll then prime the decal (very important whenever you work with chalkboards!) and hang it.
I attached the decal to my refrigerator, but I think this would also look super cute on the inside (or even the outside!) of a cabinet or pantry door!
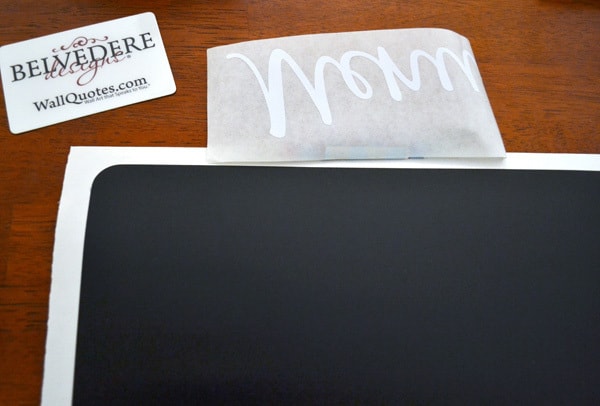
First up, place the "menu" decal where you want it, and use a piece of tape to hold it in place. Using the tape as a hinge, flip up decal and peel off backing. Lay decal back down carefully...
....and starting from the center, squeegee the vinyl decal firmly.
Step 3: Carefully peel back the transfer tape. To do this, start at a corner and peel the transfer tape off at a 180 degree angle-back and down rather than up and away. If necessary, use your fingers to press down on the letters as you peel back the tape.
Step 4: Following the same steps, apply the days of the week decals to the left side of your menu.
Step 5: Now it's time to prime your chalkboard menu. Take a piece of chalk, and, laying it on it's side, rub the decal with the chalk. Erase with a paper towel, and repeat two more times.
Step 6: Remove decal from the backing, and apply to the surface of your choice, smoothing as you go.
And you're done! I am super excited about this decal and know it's going to help me stay organized this school year!

Head over to Belvedere Designs now to check out this new and fabulous vinyl decal!


No comments:
Post a Comment